.svg)
Empowering Beginner Musicians: How Sight Reading and Flow State Transform Early Learning
Many music teachers share the same quiet frustration: beginners start with enthusiasm, but progress slows, motivation drops, and practice becomes a chore. This isn’t usually due to a lack of talent or effort. More often, it’s a mismatch between how students are taught and how the brain learns best—especially in the early stages.
Two concepts sit at the center of this problem and its solution: sight reading and flow state. When thoughtfully combined, they can dramatically change how beginners experience music learning.

Sight Reading as a Foundational Skill, Not a Side Exercise
Sight reading is often treated as a secondary skill—something to “pick up along the way.” Yet research and pedagogy consistently show that fluent sight reading supports faster learning, better retention, and stronger overall musicianship. When students can decode music efficiently, they free up mental capacity to focus on rhythm, expression, and musical meaning rather than basic note recognition.
Many traditional approaches can unintentionally overemphasize song repetition. Students may master a piece through memorization, but the underlying skills don’t always transfer to new material. Educational research on skill transfer shows that abilities developed in narrow contexts are less likely to generalize unless practiced across varied examples. This explains why some students struggle when introduced to unfamiliar music, even after “learning” several songs.

When Challenge and Skill Fall Out of Balance
As repertoire difficulty increases, this gap becomes more noticeable. Students may spend long hours repeating the same passage, not because it is musically engaging, but because it sits just beyond their current reading ability. Practice becomes either frustratingly hard or mechanically easy—rarely satisfying.
This imbalance directly impacts motivation. Studies on learner engagement consistently show that progress stalls when tasks feel either overwhelming or monotonous. What’s missing is the optimal zone where effort feels meaningful and progress feels visible.
Flow State: The Missing Psychological Link
Psychologist Mihaly Csikszentmihalyi introduced the concept of flow state to describe a mental condition of deep focus and enjoyment that occurs when challenge and skill are closely matched. In learning environments, flow is associated with increased persistence, better performance, and intrinsic motivation.
For beginners, flow doesn’t come from perfect execution—it comes from appropriate difficulty. When tasks are structured so that success is frequent but not guaranteed, students stay engaged longer and develop confidence alongside competence. In music education, this means presenting material that continuously adjusts to the learner’s evolving skill level.

Applying Flow Principles Through Sight Reading
When sight reading becomes the primary vehicle for learning, it naturally supports flow. Encountering fresh, level-appropriate material encourages adaptability and pattern recognition rather than rote repetition. Educational psychology refers to this as learning within the zone of proximal development—where students are challenged just enough to grow without becoming discouraged.
Instead of repeating a single piece to exhaustion, students reinforce a skill across multiple contexts. This strengthens transfer, accelerates reading fluency, and keeps practice cognitively engaging.
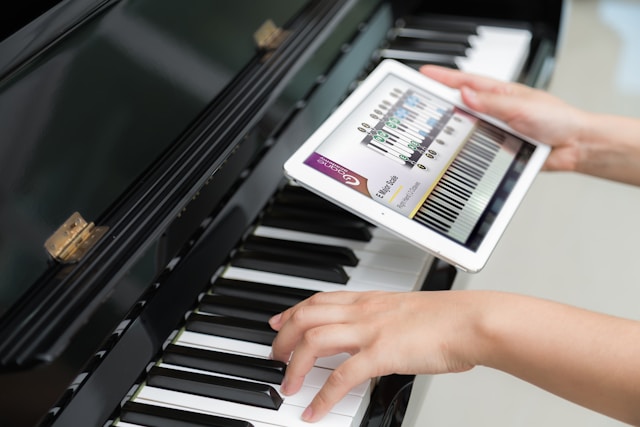
Where Technology Fits—As a Pedagogical Tool
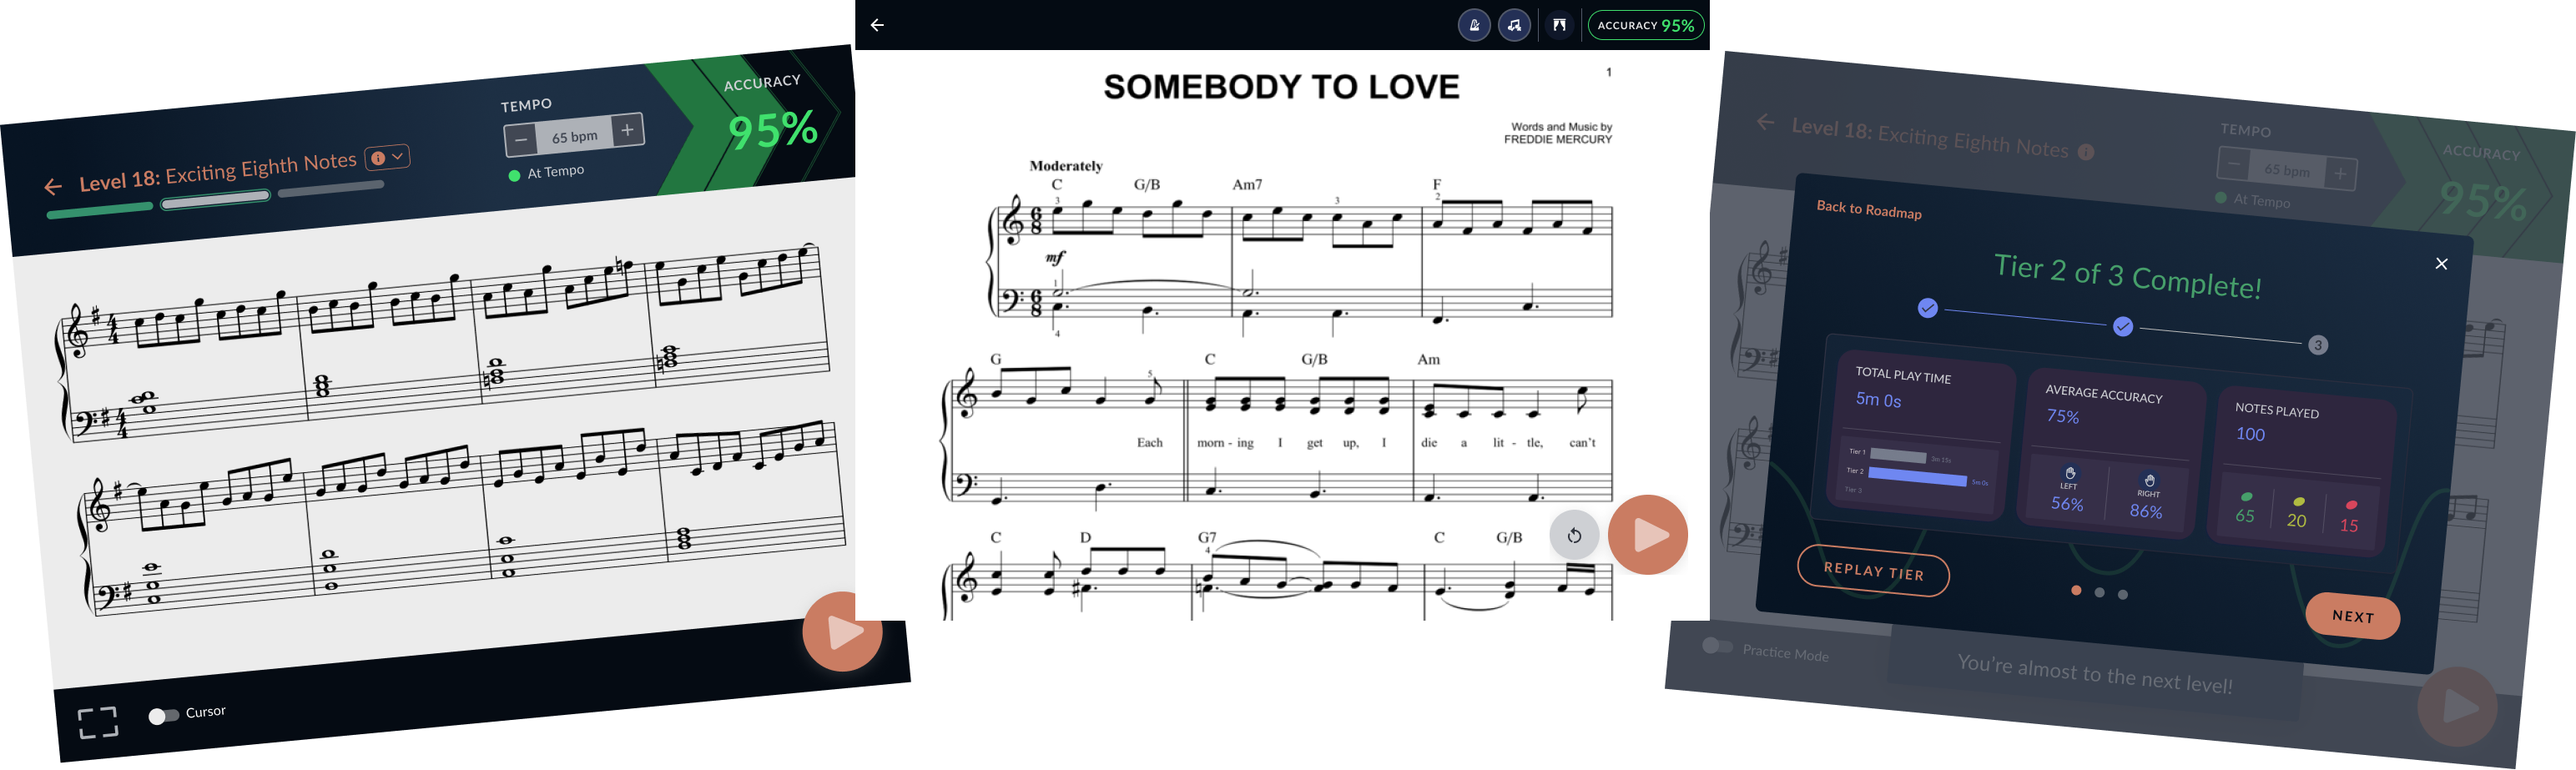
Modern learning tools can help operationalize these principles. Platforms like MuseFlow apply flow-based pedagogy by delivering a steady stream of new, manageable music calibrated to the learner’s accuracy and consistency. Rather than framing this as “replacing” instruction, it functions as structured skill reinforcement outside the lesson.
From a teaching perspective, this shifts the role of technology from content delivery to practice optimization. Data such as accuracy trends and time-on-task provide insight into how students practice between lessons—information that’s traditionally difficult to capture reliably.
Reframing the Teacher’s Role
When technical skill-building is reinforced efficiently during independent practice, lesson time can be used differently. Teachers can focus more on musical interpretation, phrasing, tone, and emotional expression—the elements that truly define artistry.
This approach aligns with blended learning models in education, where technology supports foundational skill acquisition while educators guide higher-order thinking and creative application.
A More Sustainable Learning Experience
For beginners, combining sight reading with flow-oriented progression creates a positive feedback loop: effort feels rewarding, progress feels visible, and motivation sustains itself. Skills develop broadly rather than narrowly, reducing frustration as music becomes more complex.
Ultimately, empowering students isn’t about abandoning tradition—it’s about refining it with insights from cognitive science and pedagogy. When learning feels engaging and achievable, both teachers and students benefit.