.svg)
How to Play a MIDI Keyboard
A MIDI keyboard is very much like a piano or digital keyboard - they both have the same keyboard layout, and they can both play that classic “piano” sound. However, a MIDI keyboard can do much more than just let you play the piano! In this article, we’ll discuss the benefits of MIDI keyboards and different use cases for playing them - DJs and music producers, composers, and finally music students.
Introduction
MIDI stands for Musical Instrument Digital Interface. It is the instrument that translates a musical keystroke into 0s and 1s so a computer can interpret your actions. MIDI keyboards, or MIDI-compatible keyboards, are used by DJs and music producers as their main sound producting instrument. You can load many different sounds onto it - a grand piano, a synthesizer, strings, whatever you’d like - hook it up to your computer, and play those sounds as part of a larger whole.
MIDI Keyboard for Producers and DJ’s
Producers and DJs write their music in any number of DAWs out there - Digital Audio Workstations.
Typically, they use a MIDI keyboard to quickly play out different parts of a musical arrangement.

Use Case for Composing an Indie/Pop Tune in Logic Pro X
Instrumentation:
- Drums
- Electric Bass
- Piano Synth
- Lead Guitar
- Horns
- Set the Tempo:
- Set the tempo (speed of the song) in your DAW (Logic Pro X) for how fast you want it to be.
- Record the Electric Bass:
- You look through a bunch of electric bass sounds and find that you really like the Liverpool Bass sound, so you upload that to your DAW.
- Start recording and play the MIDI keyboard in that sound to the tempo you’ve set.
- Experiment by recording several takes until you find a groove you really like.
- Lay Down the Drums:
- Choose a drum kit SFX that you like and that maps well to your MIDI keyboard.
- Record the drum part by playing the keys on your MIDI keyboard associated with the drums or cymbals you want to include.
- This will take some experimentation so be patient! Enjoy the cacophony that comes with this percussion instrument. you’ll soon find a pattern you love.
- Record the Piano Synth:
- Browse through the synth sounds in Logic and try out a few until you find one that fits the vibe of your song.
- Record some simple synth chords. Keep it understated… the goal is to fill out the sound without drawing too much attention.
- Record the Lead Guitar and Horns:
- Find samples of a lead guitar and horns that you really like.
- Load them into your DAW… they’ll map to your keyboard.
- Play and record these parts in time with the rest of the instruments to complete the arrangement!
If you want to add vocals to this piece, write lyrics and come up with a melody. Consider different structures for your song. Repetition is key here. We as humans like to hear things a few times so we can really understand it.
MIDI Keyboards for Composers
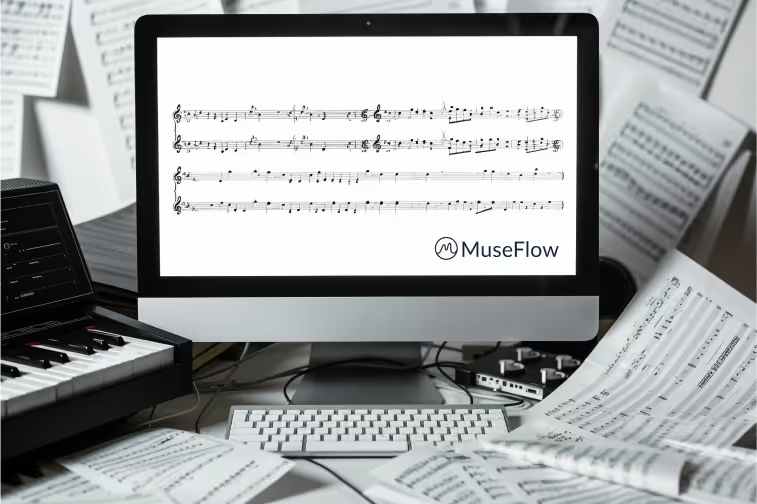
If you’re looking to compose something that someone else will need to play, you’ll need to write it down on sheet music. The process is very similar to what DJs and producers do, but instead of a DAW, composers usually write their music in music notation software. They use a MIDI keyboard as their main instrument.

Use Case for Composing a Classical Piece in Sibelius
Instrumentation:
- Strings (Violin, Viola, Cello)
- Flute
- Clarinet
- French Horn
- Timpani
- Set the Tempo and Time Signature:
- Open your music notation software (Sibelius) and set the tempo and time signature for your piece.
- Compose the String Section:
- Start with the strings (Violin, Viola, Cello).
- Choose a rich, warm string sound. Begin by notating the main harmonic structure with the Cello. Make sure there’s a solid bass line in there.
- Add the Violin melody, keeping it simple and lyrical. Then, fill in the Viola with harmony.
- All of these instruments will be on separate staves, so you’ll want to choose the orchestration template so you have all these instruments on one sheet of music.
- Experiment and Refine:
- Play back the string section to ensure it flows well. Make adjustments to the harmonies so it sounds good, then add dynamics, articulations, and phrasing to make it musical!
- Add Woodwinds (Flute & Clarinet):
- Add a Flute line… possibly doubling the Violin melody or adding a counter-melody.
- Introduce the Clarinet with supportive harmony or another counter-melody. Keep it light to complement the strings.
- Copy the dynamics you have for the strings. Make sure it all lines up nicely.
- Incorporate the French Horn:
- Notate the French Horn part. This adds warmth and depth to the harmony. The French Horn can also provide rhythmic support or reinforce the bass line with the Cello.
- Consider articulation here - A percussive articulation could be fun for rhythm, or a smooth, flowing articulation could be nice for a more lyrical interpretation.
- Compose the Percussion (Timpani):
- Add the Timpani to provide rhythmic structure and emphasize key moments. Keep it subtle; the Timpani is there to support, not dominate. Unless you want it to dominate :).
- Playback and Adjust:
- Listen to the piece with all the instruments together. Fine-tune the dynamics, articulation… balance between the sections to ensure each instrument's role is clear.
- Finalize the Score:
- Review the entire score, ensuring all notation is correct. Play along with it on your MIDI keyboard so you can be sure it’s exactly the way you want it to sound. Double-check that all dynamics and expression markings are consistent throughout the piece.
- Export and Share:
- Export the score as a PDF and, if needed, as MIDI or audio files. Share the sheet music with performers or collaborators!
MIDI Keyboards for Piano Students
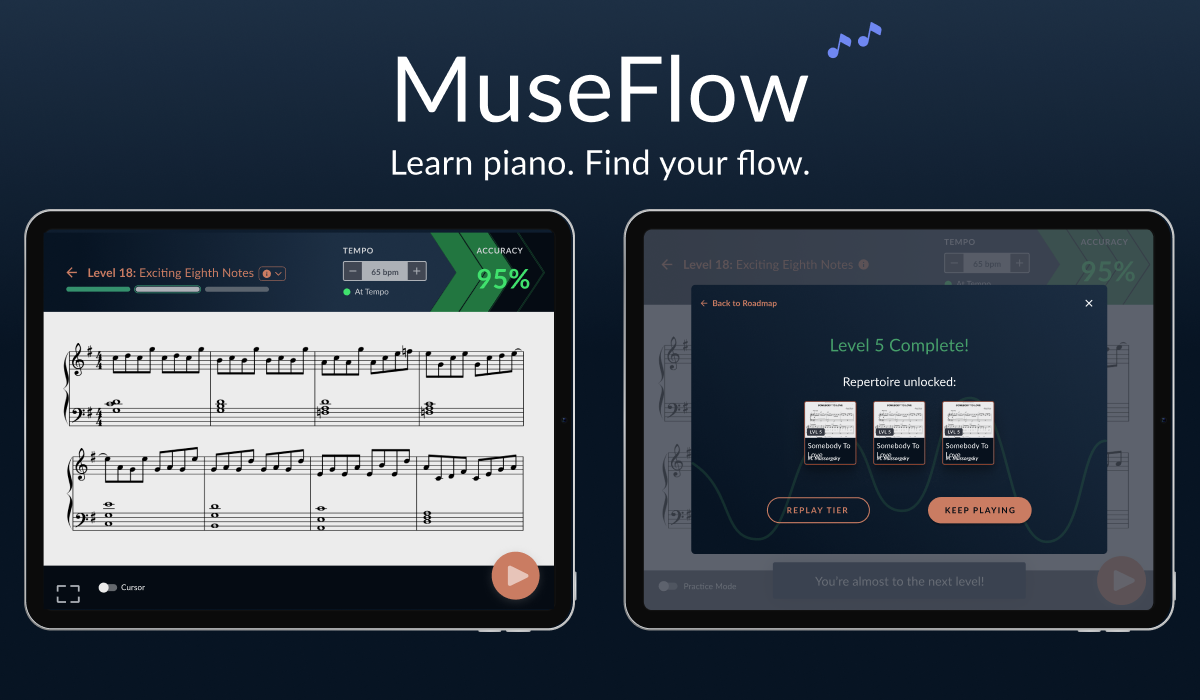
Whether you’re a beginner or expert, there are piano learning software options out there for everyone. You can use your MIDI keyboard to learn piano. Let’s map the same process above to setting up your keyboard and computer and using one of the best piano learning software out there, MuseFlow.

Use Case for Learning Piano with MuseFlow
Equipment:
- Computer (laptop or desktop)
- MIDI Keyboard
- USB/MIDI Cable (compatible for both your keyboard and computer)
- Chrome or Edge Browser
- Set Up Your Equipment:
- Turn your computer is on.
- Connect your MIDI keyboard to the computer using your USB/MIDI cable.
- Make sure the cable is compatible with your keyboard and computer.
- Open MuseFlow in Chrome or Edge:
- Go to http://museflow.ai.
- Sign up for MuseFlow.
- Make Sure Your MIDI Keyboard is Connected:
- Go through the welcome flow and get to the roadmap.
- Try to play a few notes and make sure they come out of your speakers.
- If not, go to the settings and ensure that “device speakers” is toggled on.
- Choose a Level Where Your Skill Matches the Challenge:
- Find the level that fits your skill level.
- Look at the preview images of the music in the levels and see what you can play.
- Try a Few Levels:
- Go through the tutorial, and play along with the music.
- Start the level, and play through a few bars. If it’s too easy for you, try another level.
- NOTE: The first tier of each level is easier than the later ones, so you may want to play the full level to see if it’s a good place to start for you.
- Continue From There:
- Once you’ve found the level that’s right for your skills, go ahead and pass that level, then move on to the next!
- The tiers/levels should be fairly easy to start, then get harder as you go along.

Conclusion
Whether you’re a producer, DJ, composer, or music student, MIDI keyboards are the perfect instrument for you to play. See the above step-by-step guides to see how you can use your keyboard in each scenario. Keep rocking it, and we’ll see you on the next one!
Curious about whether MuseFlow is right for you? With a MIDI keyboard and a computer, you can try it out at beta.museflow.ai. We can’t wait to hear your feedback as we make music education available and engaging for everyone!


.jpg)


